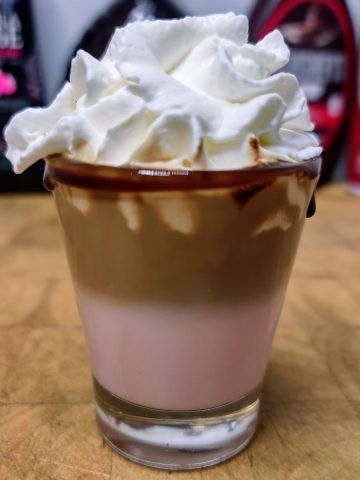
Layered shots are fun and colorful edible works of art that are full of vibrant colors and flavors. From patriotic red, white and blue to swampy greens and yellows. You will be able to find a colorful shot that will fit for any event or occasion.
Jump to:
🥄 How to Layer a Shot (or Cocktail)
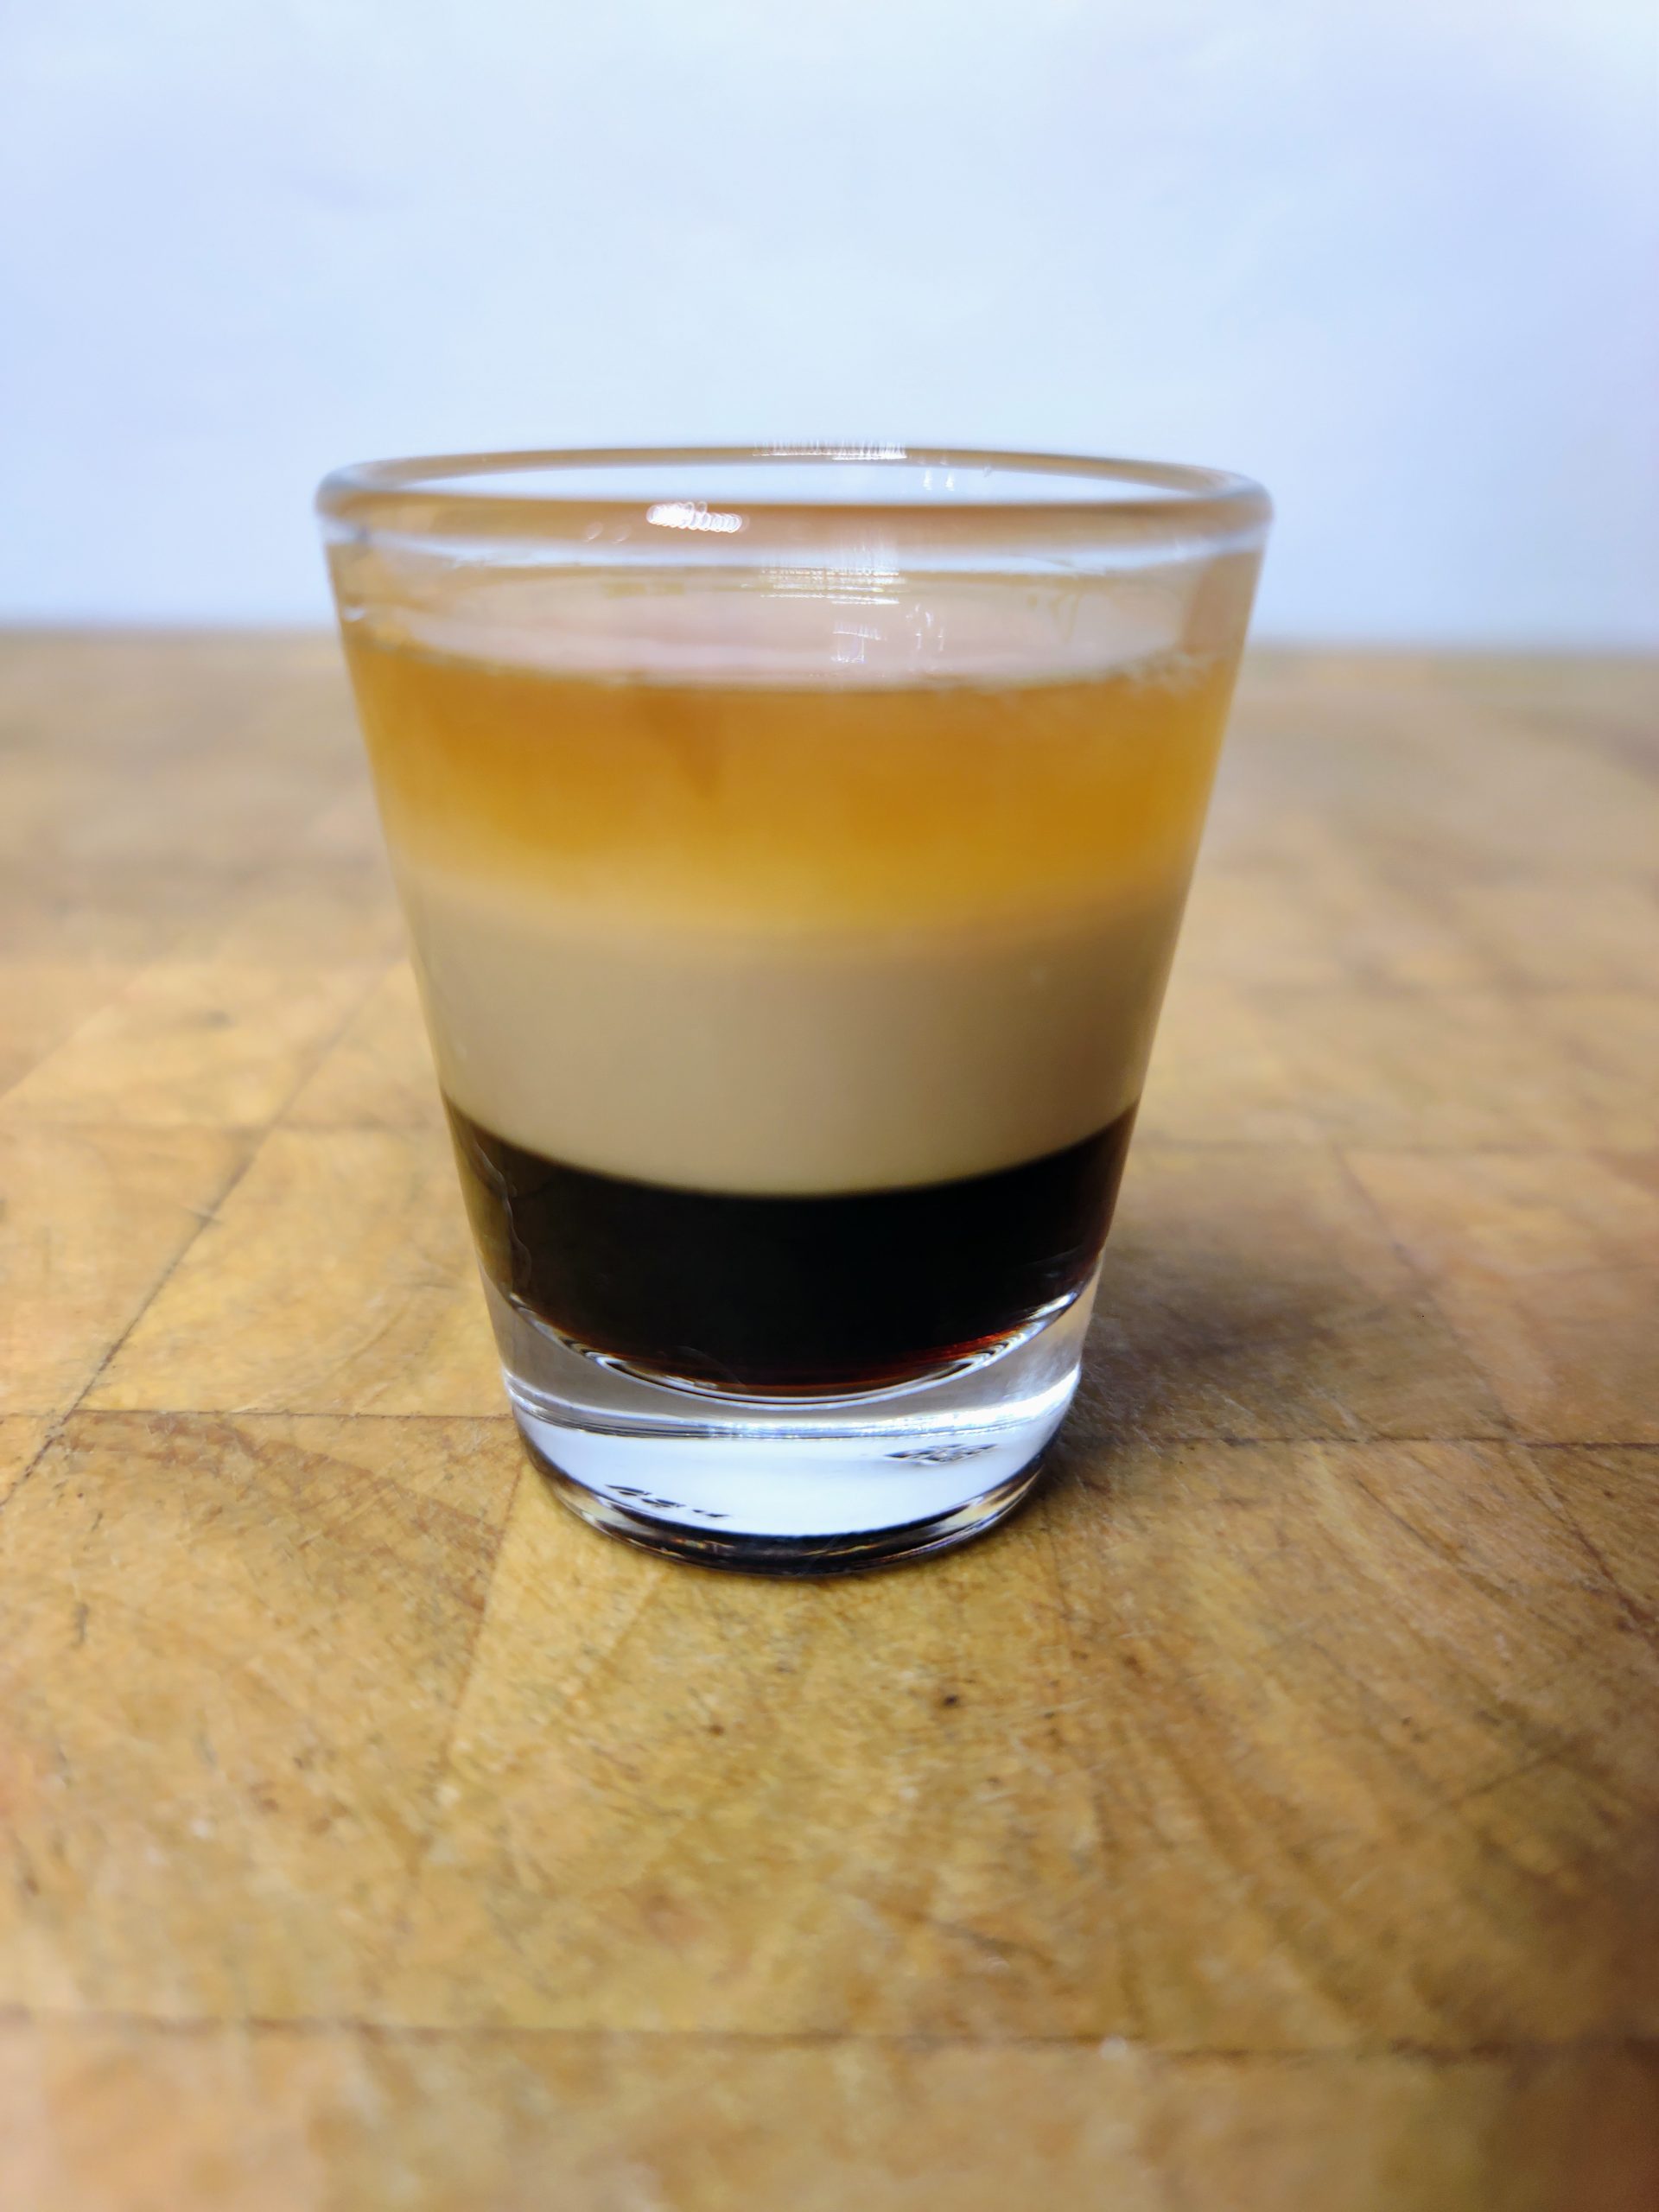
Layering a shot (or full cocktail) is relatively easy once you know a few basics and get a little practice in. A layered shot usually looks super fancy as you can see each individual ingredient sitting one on top of the other. It creates a really stunning visual that looks like it is probably really difficult to do.
There are definitely a few tips and tricks that you should follow to get really crisp and cleanly layered shots. But with a little practice, you should be able to layer them super well.
Liquid Densities
Before you get started layering any shots, you need to understand how the layering works. Layering is made possible by the fact that liquids have different densities.
The heavier, or more dense, a liquid is it will sit at the bottom of a glass or sink to the bottom of the other liquids. The lighter, or less dense, a liquid is it will tend to float on top of other more dense liquids.
So, you should get a general idea of different densities of commonly used liquors and liqueurs. Do note that differences in brands and flavorings can change the densities. So, these are just some general guidelines. And, usually, you will be following a recipe that tells you what order to layer anyway.
| Liquor/Liqueur | Approximate Density |
|---|---|
| Grenadine | 1.18 |
| Kahlua/Coffee Liqueur | 1.13-1.16 |
| Blue curacao | 1.10 |
| Frangelico & Amaretto | 1.08 |
| Peach Schnapps | 1.06 |
| Midori & Baileys | 1.05 |
| Cointreau & Triple Sec | 1.03-1.04 |
| Jager | 1.01 |
| Vodka/Whiskey/Rum/Tequila | .94 – .97 |
| 151 Rum | .94 |
Step-by-Step Instructions
Now that you have a general understanding of what layered shots are and how they work, we can review the step-by-step instructions to get the perfect layer.
- Determine the liquid densities. Make sure you are either following a proven recipe using the same ingredients, or that you know the specific gravity/liquid densities of the ingredients you want to use. Make sure they will be going in the glass heaviest to lightest.
- Measure and Pour. The first layer is the easiest as you just have to measure the ingredient and toss it into the bottom of the shot or cocktail glass.
- Slowly layer. As you add second, third or additional ingredients you need to go slowly so that they don’t mix with the ingredients already in the glass. There are a few tips to help them to go into the glass as slowly as possible:
- Use a bar spoon. Place a bar spoon upside down in the glass just above the last liquid added. Pour your next ingredient in over the back of the bar spoon. This will help to break the fall of the liquid into the glass allowing it to sit lightly on top of the ingredients already in the glass.
- Make sure to move the spoon up as the liquid fills up the glass, if the spoon is actually touching, or into the prior liquid it can cause the ingredients to mix.
- Use pour spouts. Pour spouts can take a little time to get used to using. But, once you have them down pat, they can really help when it comes to layering. They create a steady, but slow stream of liquid that’s much easier to control that pour straight from the bottle.
🥃 Layered Shot Recipes
Here are some of the very best, most colorful and delicious layered shot recipes.
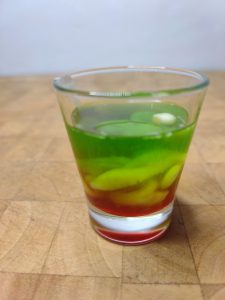
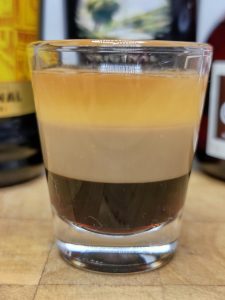
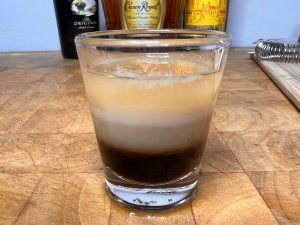
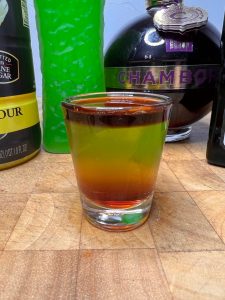
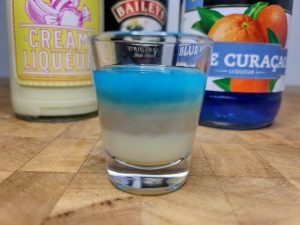
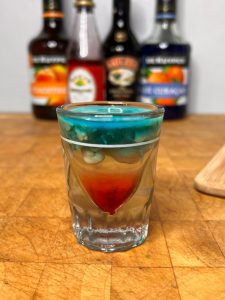
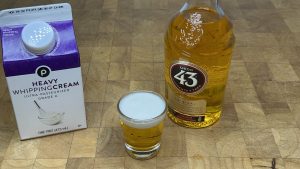
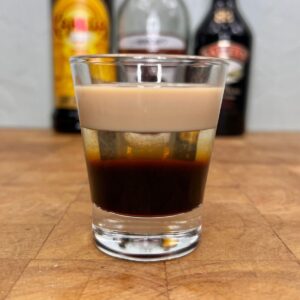
Layered Cocktails
💭 Layered Shot FAQ
A layered shot is essentially just a shot that has the liquor or liqueurs layered one on top of the other.
The basic rule to layering drinks is that you have to put the heaviest or most dense liquid on the bottom and the lightest one on top.
No, layered drinks should not be stirred or shaken.

Leave a Reply